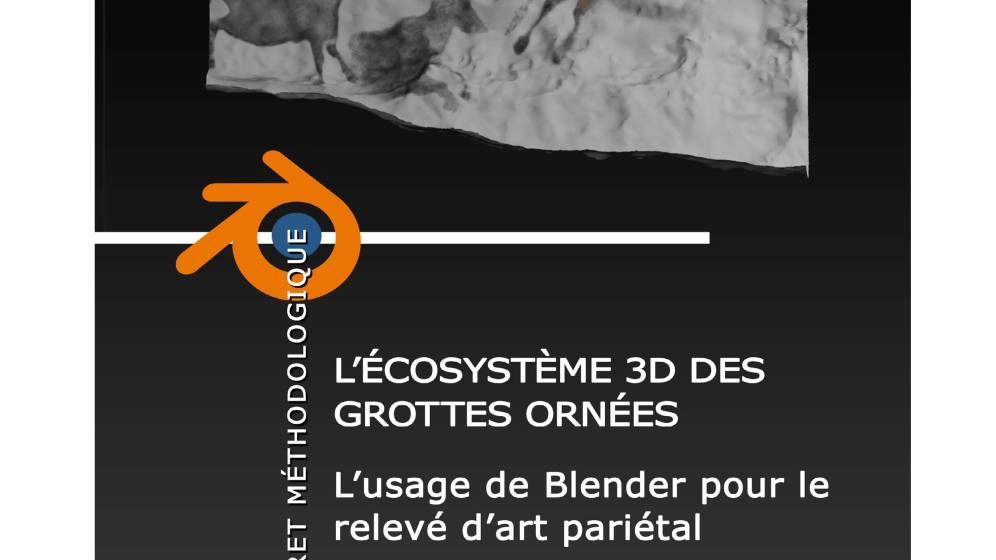
The methodological booklet The 3D ecosystem of ornate caves: the use of Blender for wall art survey presents the possibilities of the free Blender software. This open source software benefits from a very large community of users. It offers a suite of tools that allows you to go from modeling to rendering, including 3D animation.
To help the user, the book first offers a grip. He then presents the organization of the data in the software, learns how to work and reproduce polychromies with the Texture Paint tool or how to annotate surfaces with the Grease Pencil. Thanks to it, the manipulation of the program is simple and easy: just let yourself be guided along the pages to conceive the archaeological survey of an ornate wall.
The National Centre for Prehistory, a service of the Archaeology Sub-Directorate, has been heavily involved in the digital field for several years. With this guide, he hopes to share his experience with archaeologists and the work of the apprentice students through the professional license «Infographie, visualisation et modélisation 3D» of the University of Cergy-Pontoise, which he has been hosting for five years.
MINISTRY OF CULTURE, DGPAT, SDA, CENTRE NATIONAL DE PREHISTOIRE, The 3D ecosystem of ornate caves: the use of Blender for wall art survey, booklet on methodology, Paris: ministère de la Culture, 2022, 88 pages, ISBN 978-2-11-167893-4.
Examples of 3D readings under Blender
The National Centre for Prehistory makes the manual available to readers The 3D ecosystem of ornate caves: the use of Blender for wall art survey application examples. Upon request, you will receive a set of three folders, which are described below:
- Dossier Multimodal. It includes a file in Blender format containing all the nodes trees as presented in the booklet. These trees are accessible via a drop-down menu indicated when opening the file. Textures used (original texture and DStretch treatment) are included.
- Dossier Relift_Gravures. It contains a Blender file with a Grease Pencil reading and the texture of the 3D model being used. The textures used for the different types of traces are gathered in the subfolder Charte_Graphique_Exemple.
- Dossier Relevants_Peintures. It contains an illustration Blender file, the original texture of the 3D model and the backup of the layers produced for the example. A sub-folder Bibliotheque_Brushes contains the resources needed to manage the trait library (Blender file containing the
brushes
images and alpha textures used to create them).
To receive your free 3D Blender samples, contact us at: centre.national.de.prehistoire@culture.gouv.fr
Introduction
- 1. Getting started with the software
1.1. Basic Settings and Workspace
1.1.1. Reconfigure Shortcuts
1.1.2. Workspaces: Vocabulary and Configuration
1.2. Importing a 3D object and preparing it
1.2.1. Importing an OBJ
1.2.2. Views and movement of elements
1.2.3. Viewing modes
1.3. Model Highlighting: Blender Virtual Lighting
1.4. Saving Jobs and Sharing Files - 2. The multimodal approach
2.1. Texture – Dstretch®
2.2. Implementing Normals
2.3. The “Pointiness”
2.4. Integrate a Digital Elevation Model (MNE) - 3.The Texture Paint
3.1. Paint Mode Setup
3.1.1. Template Preparation
3.1.2. Switch to Paint Mode
3.1.3. Creating a transparent layer
3.2. Layers and Nodes
3.2.1. Adding a first layer
3.2.2. Adding an additional layer
3.2.3. Management of nodes
3.3. Paint with Texture Paint: brushes and parameters
3.3.1. Importation of “brushes”
3.3.2. Selection and settings of "Brushes"
3.3.3. Create a Brushes Library
3.4. Paint tools and other features
3.4.1. The different types of plots
3.4.2. Create Color Palettes
3.4.3. Stencil - 4. Grease Pencil
4.1. Grease Pencil elements: objects, layers and materials
4.1.1. Adding a Grease Pencil object
4.1.2. Layers and materials
4.1.3. Configuring the Viewport for Grease Pencil
4.2. Drawing with Grease Pencil
4.2.1. Setting the brush
4.2.2. Adhering a line to the surface of an object
4.2.3. Importing a vector charter
4.3. Route and Material Management
4.3.1. Management and organization of lines in edit mode
4.3.2. Create a new material from a copy
4.3.3. Change the material by a line
4.3.4. Importing a Material Library - 5. Exploitation of Produced Data and Interoperability
5.1. Rendering as an Image
5.1.1. Shooting and rendering settings
5.1.2. Method for the automatic integration of a plain background
5.2. Export one or more 3D objects from the Blend file
5.3. Export of Grease Pencil
5.3.1. 2D Exports
5.3.2. Export as a 3D object
5.4. Transform the figure of a layer into a 3D object
Conclusion
Bibliography
Index of illustrations
Partager la page